
How to Teach a Child to Hold a Pencil (and When to Worry)
The grip develops in five predictable stages between ages one and six. Here is what each looks like, what actually helps at each one, and the point at which it is worth asking for help.
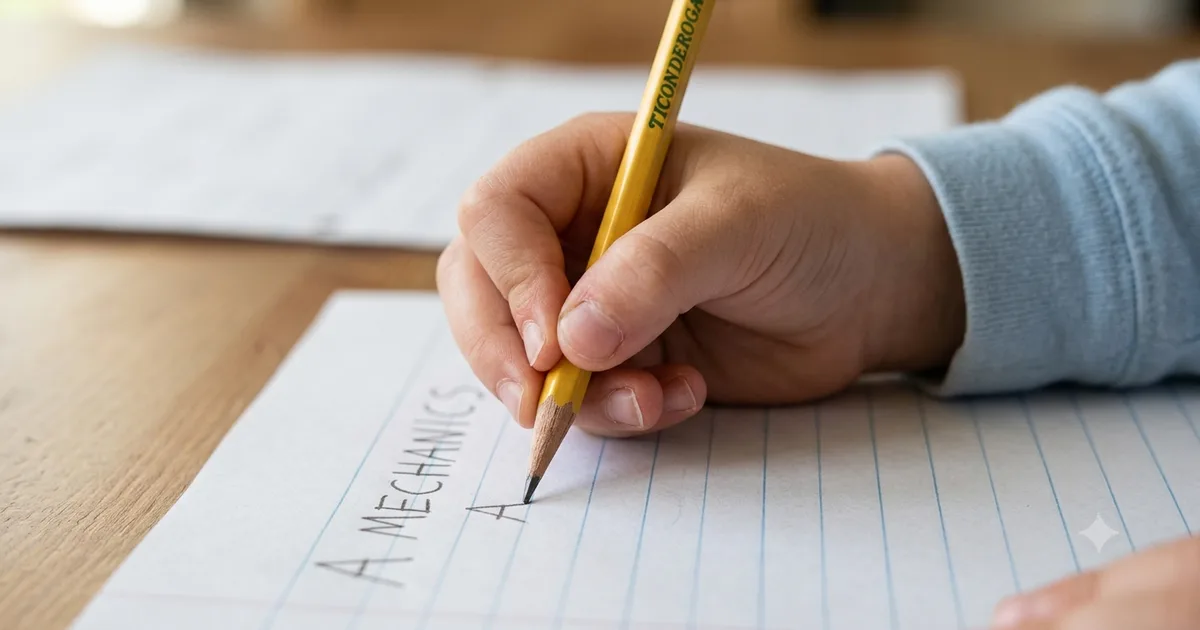
Almost every parent who worries about their child's pencil grip is worrying too early. The mature grip — thumb and index finger pinching the pencil, resting on the middle finger, the last two fingers curled into the palm — is not something a two-year-old is capable of. It is the end point of about four years of development, and trying to install it before the hand is ready usually produces a child who grips harder, tires faster and likes writing less.
What follows is the sequence that grip actually develops in, what genuinely helps at each stage, and the small number of signs that are worth acting on.
The five stages, roughly by age
1. Fisted grasp (1–2 years). The crayon is held in a closed fist, thumb up, and the whole arm moves from the shoulder. Marks are large, looping and uncontrolled. This is correct for the age. The child is not drawing so much as discovering that moving an arm leaves a trace.
2. Palmar supinate grasp (2–3 years). Still a whole-hand hold, but the wrist starts to turn and the elbow begins to do some of the work instead of the shoulder alone. Scribbles get smaller and start to stay on the paper.
3. Digital pronate grasp (3–4 years). The fingers point down at the paper, the pencil is held with all four fingers, and movement comes mostly from the wrist. Children at this stage can copy a vertical line, then a horizontal one, then a circle — in that order, reliably, across almost every child.
4. Four-finger or quadrupod grasp (4–5 years). The pencil now sits between the fingertips. Many children pass through a four-finger version before settling into three. A quadrupod grip that is comfortable and produces legible writing is not a problem and does not need correcting.
5. Dynamic tripod grasp (5–6 years). Thumb, index and middle finger control the pencil; the ring and little fingers tuck into the palm to stabilise the hand; the fingers themselves move, not just the wrist. This is the grip that lets a child write for a sustained period without their hand aching.
The ages overlap and children move back and forth, especially when tired or attempting something hard. A five-year-old who has a tripod grip for colouring and reverts to a fist for a difficult letter is behaving completely normally.
What actually helps
The single most effective thing is not pencil work at all. Grip depends on strength and control in the small muscles of the hand, and those develop through resistance, not through more writing.
- Break the crayons in half. A short crayon physically cannot be held in a fist. This is the oldest trick in the occupational therapist's book and it works within days.
- Work vertically. Tape paper to a wall, use an easel, or let them draw on a window with washable markers. A vertical surface forces the wrist into extension — the position it needs to be in for a tripod grip — without anyone having to mention it.
- Squeeze things. Play dough, tongs picking up pom-poms, clothes pegs, spray bottles, bubble wrap, tearing paper into strips. Ten minutes of this does more for handwriting than an hour of tracing.
- Thread and post things. Beads on a lace, coins into a slot, pasta onto spaghetti stuck in dough. All of it builds the pincer grip directly.
- Let colouring be colouring. Staying inside an outline is the same skill as staying on a line, practised without the pressure of forming a letter correctly. This is why colouring pages belong in a handwriting plan and not just in the wet-afternoon box.
Where tracing worksheets fit
Tracing is useful, but narrower than most people assume. It teaches the shape of a letter and the order and direction of its strokes. It does not build hand strength, and a child who lacks the strength will simply grip harder to compensate — which is how a poor grip gets locked in.
So the sequence that works is: strength and control activities first, then tracing to teach formation, then unsupported writing. Our handwriting and tracing worksheets are built for the middle step — large, faint outlines with space alongside to write the letter unaided, so a child moves from copying to producing in the same line.
A few things that make tracing sheets work better:
- Trace with a finger first, then a crayon. The finger pass tells the child where the line goes without the extra difficulty of controlling a tool.
- Say the movement out loud. "Down, up and over" for an r. The words become an internal script the child uses later when writing alone.
- Stop before they get tired. Five good letters beat a full page of deteriorating ones. Quality degrades quickly, and practising a letter badly is worse than not practising it.
- Do not fix the grip mid-task. Adjust it at the start, then leave it alone. Correcting repeatedly during writing turns the whole activity into a source of tension.
Left-handed children
Left-handers need three specific accommodations and then no further fuss:
- Paper tilted clockwise, roughly 30–45 degrees, the mirror image of the right-hander's tilt. This stops the hand hooking over the top of the line to see what has been written.
- Grip slightly further from the tip — about 2–3 cm — so the fingers do not obscure the letter being formed.
- Seated on the left of a right-handed writing partner, so elbows do not collide.
Left-handedness is not a problem to be corrected and there is no benefit whatsoever to encouraging a child to switch.
When it is worth asking for help
Most grip concerns resolve on their own. These are the ones that do not, and where an occupational therapy assessment is genuinely worthwhile:
- After about age six, the grip is still whole-handed or the whole arm moves to write rather than the fingers.
- The child avoids all drawing, colouring and writing consistently — avoidance in a young child is usually a sign that something is physically hard, not that they are uninterested.
- They complain of hand pain or tire within a minute or two of starting.
- Grip pressure is extreme — tearing paper, snapping pencil points, white knuckles.
- There is a clear gap between what they can say and what they can write down, past the age where their peers have closed it.
Any one of these on its own is worth mentioning at a school or paediatric appointment. None of them is an emergency, and none is a verdict on how the child will write at fifteen.
The short version
Build the hand before you drill the letters. Break the crayons, work on a vertical surface, squeeze and thread and tear things, and let colouring count as practice. Bring in tracing once the fingers can do the work, and keep the sessions short enough that every attempt is a good one. Then leave the grip alone unless it is still whole-handed at six, or it hurts.